Showing posts with label Tutorial. Show all posts

Thursday, February 13, 2014

Sweet Girl

Hi guys, I'm over on the Come on Get Crafty blog today sharing how I created this faux painted script title using water color pencils. You can check it here.... COGC Why Didn't I Think of That blog post


Thanks so very much for stopping by! And if you are in all this snow please stay safe and warm and hope you can scrap the snowy days away!


Wednesday, December 18, 2013

Christmas Pom Pom Garland Tutorial

So I posted this garland I made on IG and had a few questions so I decided to make a quick tutorial.

My Mom taught me how to make these when I was very little. She used to put them in my pony tails & at the end of her yarn wall thingys...think 70's LOL I love this memory with her and taught my girls how to make them too.

I haven't made these in years but noticed they were making a comeback. I felt like being crafty & wanted a banner/garland but didn't have a lot of time. So tada.... My Chistmas Pom Pom garland.

Tutorial below :)

****the fork used is a larger serving fork not a table fork. But I know it can be used with a smaller fork because that's the size we made when I was little. The Pom Poms will of course be smaller though.

Wrap the yarn around fork. I did it by eye mostly but it's wrapped about 70 times. You can play around with this, less would be a loose Pom Pom & more would be a really tight Pom Pom. Cut end off.

Cut a 5 inch piece of yarn and tie around the center of bundle while it's still on fork. Make sure it's tight. (There is a way of keeping the ends longer and using them to tie it off. I just find using a separate piece of yarn easier & helps to get it tighter in center)

Remove from fork and snip through the loops.

You can trim the Pom Pom to get the ball more even if you like. (My Mama called this giving it a haircut)

Thread your Pom Poms on doubled thread. I used metallic but any thread will do. You can even use the yarn itself using a larger needle.

To keep them from sliding around I hot glued the the Pom Poms in place after I adjusted how far apart I wanted them.

And that's it...quick & easy.

Thanks so much for stopping by!


Monday, April 2, 2012

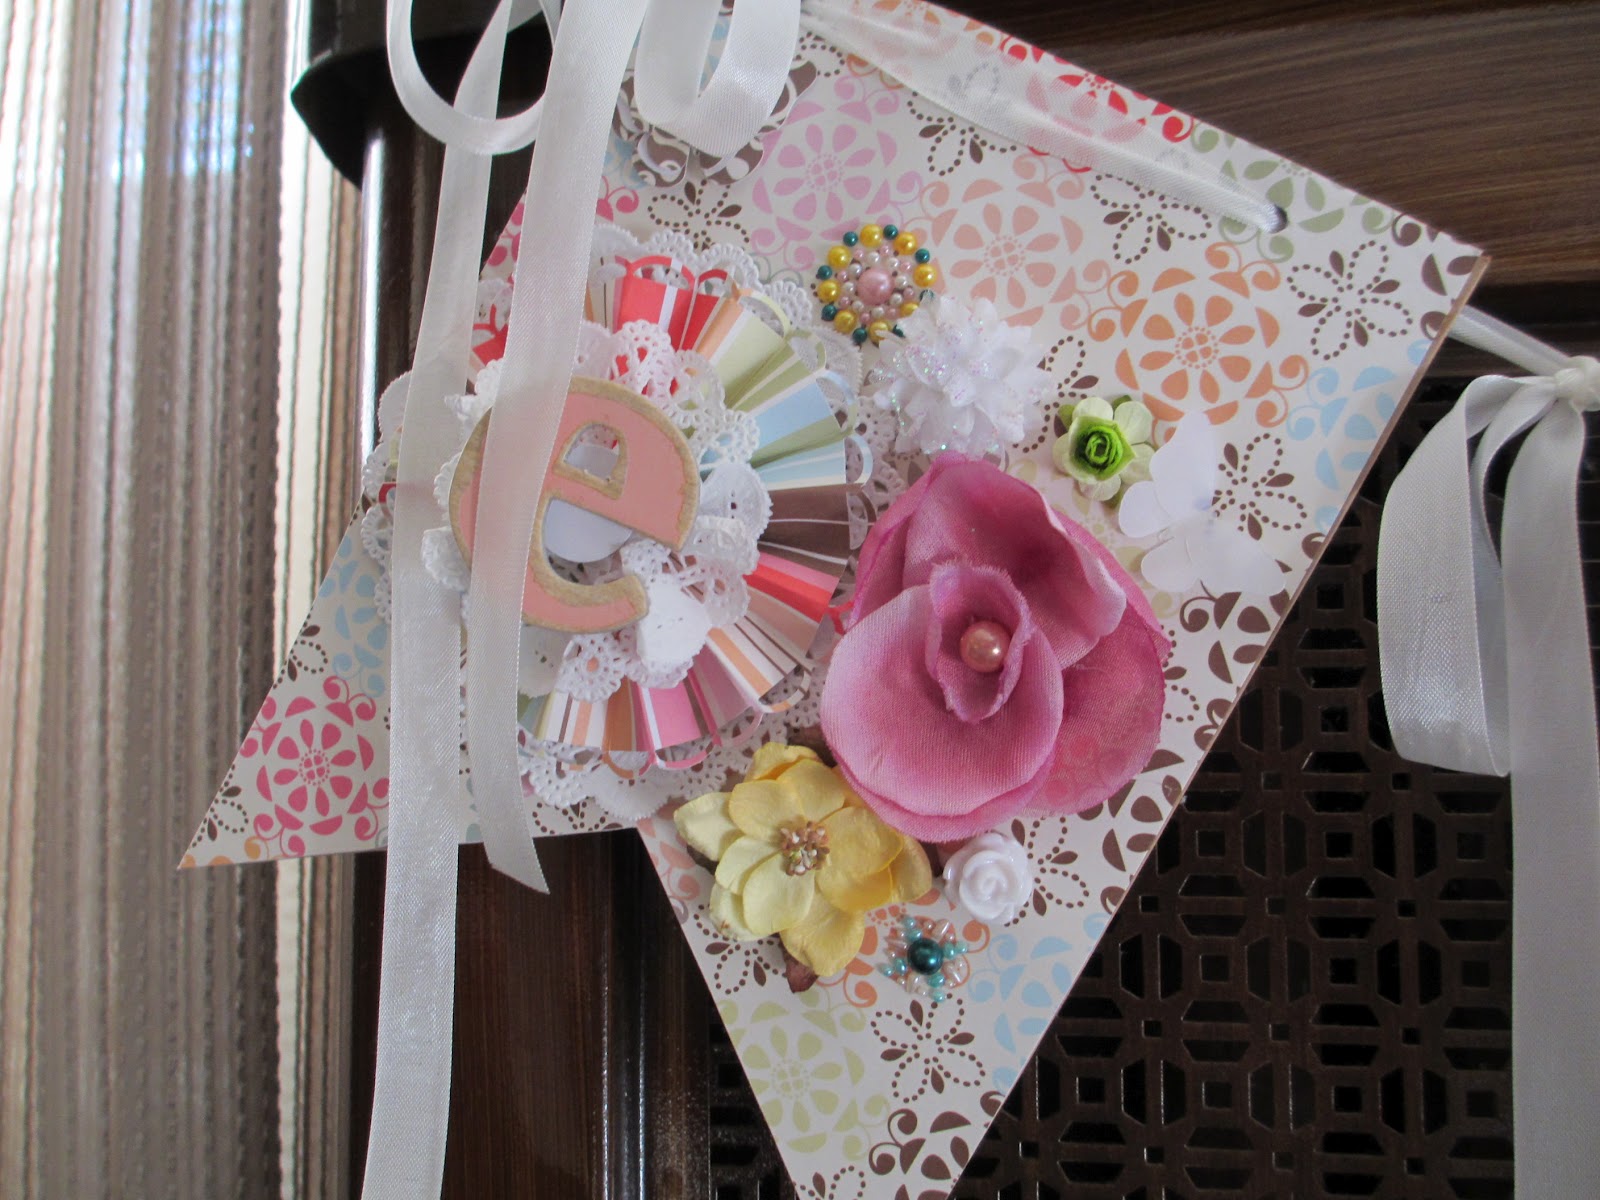
Easter Banner & tutorial

*Warning* LOTS of photos.
So here's my Easter banner I made that I totally adore. When I first started it I was a little unsure if I was going to be able to pull it off. Actually a lot unsure. Well, it wound up being one of my favorite things I ever made. I must have gone back in the living room 20 times that night just to look at it LOL
Yeah you can say I am patting myself on the back here. :)
That little yellow duck/bunny (I dunno what the heck)  is actually an elf. I found him in TJ Maxx & he is made by the same designer (Annalee) as my Elf on the Shelf that I picked up at Christmas. 
He's not as mischievous as Murry was though! 
Hmmm....We still gotta name this little guy???

Oh & yes that is a true Brooklyn fireplace LOL A good ole' radiator HaHaHa!


Supplies used:
~Banner - 7 Gypsies
~Pattern Paper - MAMBI (Fasion District)
~Flowers - Prima (Gillian, fairy & mini roses)
~Mini mini roses - I am Roses
~Pearls - Prima
~Flower Brads - Pebbles (Mr. & Mrs.)
~Doilies - Wilton
~Seam Binding - United Ribbons
~Butterfly Diecuts - Cricut Art Philosophy
~Vellum
~Border Punch EK Success knock outs

Here are a few photos of it in process. If you have any questions please feel free to post or email me.

I first used my ATG to apply paper to chipboard banners & then used an
 exacto knife to cut around banner shape.

For the rosettes I carefully scored in between each scallop.
Easier said than done :) Definitely gets a little tedious.

I applied wet glue around all edges & then used my brayer to make
sure the glue spread well & went to edges.
*I do this when making mini albums as well 

I cut the centers from doilies & scrunched them up on a dot of hot glue.
I then placed a small punched circle in center to finish it off.

Cutting out all the butterflies on my Cricut. I layered them with vellum cut
butterflies & placed them on dimensional glue dots

Stringing the banner.

I used a piece of scotch tape on end of ribbon to make threading it
through  the small holes on the banner easier.
Thank you so very much for looking!
Enjoy the week ahead!