
*Warning* LOTS of photos.
So here's my Easter banner I made that I totally adore. When I first started it I was a little unsure if I was going to be able to pull it off. Actually a lot unsure. Well, it wound up being one of my favorite things I ever made. I must have gone back in the living room 20 times that night just to look at it LOL
Yeah you can say I am patting myself on the back here. :)
That little yellow duck/bunny (I dunno what the heck) is actually an elf. I found him in TJ Maxx & he is made by the same designer (Annalee) as my Elf on the Shelf that I picked up at Christmas.
He's not as mischievous as Murry was though!
Hmmm....We still gotta name this little guy???
Oh & yes that is a true Brooklyn fireplace LOL A good ole' radiator HaHaHa!

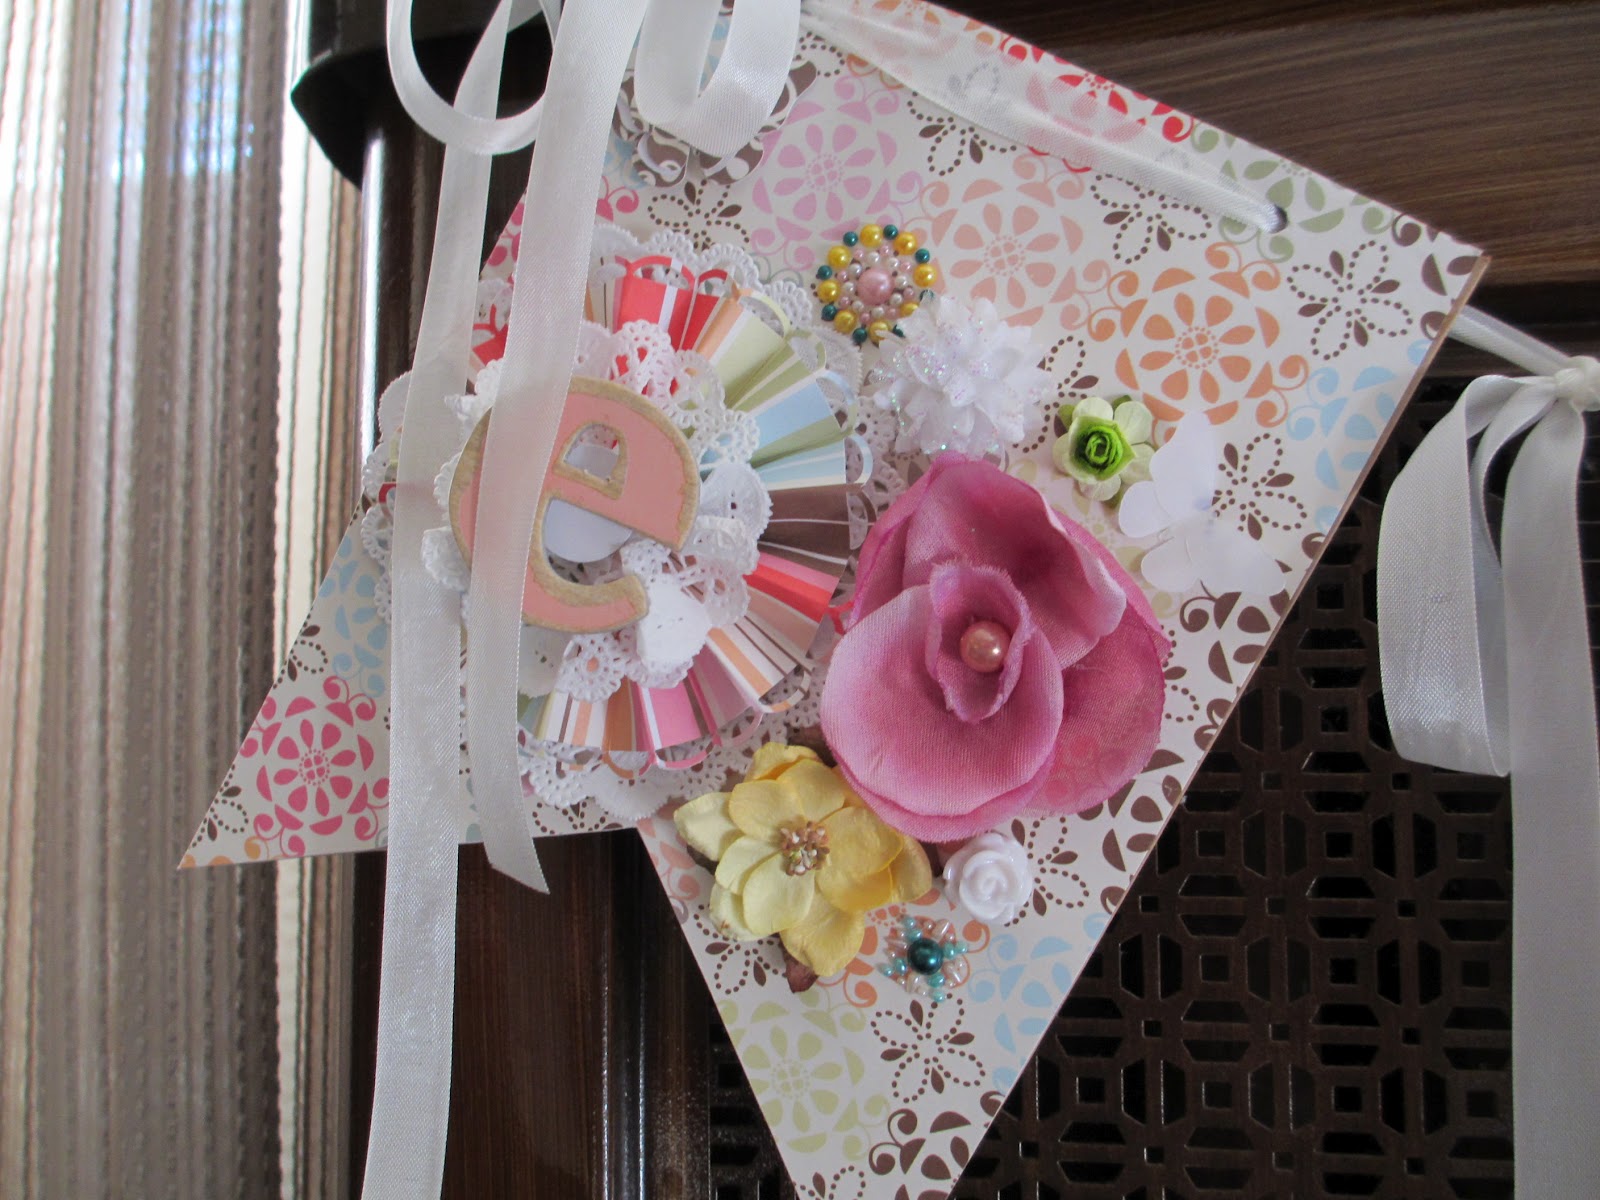


Supplies used:
~Banner - 7 Gypsies
~Pattern Paper - MAMBI (Fasion District)
~Flowers - Prima (Gillian, fairy & mini roses)
~Mini mini roses - I am Roses
~Pearls - Prima
~Flower Brads - Pebbles (Mr. & Mrs.)
~Doilies - Wilton
~Seam Binding - United Ribbons
~Butterfly Diecuts - Cricut Art Philosophy
~Vellum
~Border Punch EK Success knock outs
Here are a few photos of it in process. If you have any questions please feel free to post or email me.
 |
| I first used my ATG to apply paper to chipboard banners & then used an exacto knife to cut around banner shape. |
 |
| For the rosettes I carefully scored in between each scallop. Easier said than done :) Definitely gets a little tedious. |
 |
| I applied wet glue around all edges & then used my brayer to make sure the glue spread well & went to edges. *I do this when making mini albums as well |
 |
| I cut the centers from doilies & scrunched them up on a dot of hot glue. I then placed a small punched circle in center to finish it off. |
 |
| Cutting out all the butterflies on my Cricut. I layered them with vellum cut butterflies & placed them on dimensional glue dots |
 |
| Stringing the banner. |
 |
| I used a piece of scotch tape on end of ribbon to make threading it through the small holes on the banner easier. |
Thank you so very much for looking!
Enjoy the week ahead!

WOW! what a gorgeous banner! I love all the little details!
ReplyDeleteThank you for your comment on my studio! I love your banner!Thanks for becoming a follower!
ReplyDeleteJoe
http://scrapbookjoeblog.blogspot.com/
that is fun!!!
ReplyDeleteso amazing!!!!!!!!
ReplyDeleteBeautiful banner!
ReplyDeleteThank you all so very much!
ReplyDeleteFantastic Banner, love all the details. Thanks for Sharing!
ReplyDelete